
DEV: Setting up multilingual plugin
If the planet 4 site deployed needs to support many languages then probably WPML plugin has been installed. The guide below demonstrates the initial setup of the WPML plugin in a new planet 4 installation. If you need to multilingual support and WPML plugin is not installed, reach out to the Planet 4 team.
NOTE: Instructions are written for wpml 4.5.8 version. There may be slight variations in a newer/older version.
Before you start setting up the plugin, contact the Planet 4 team to provide you with the license key (step 3 in the process below).
In the admin area of the Planet 4 site, once you activate the plugin you’ll get a prompt to start the Configuration guide. Just hit on the button to get started.

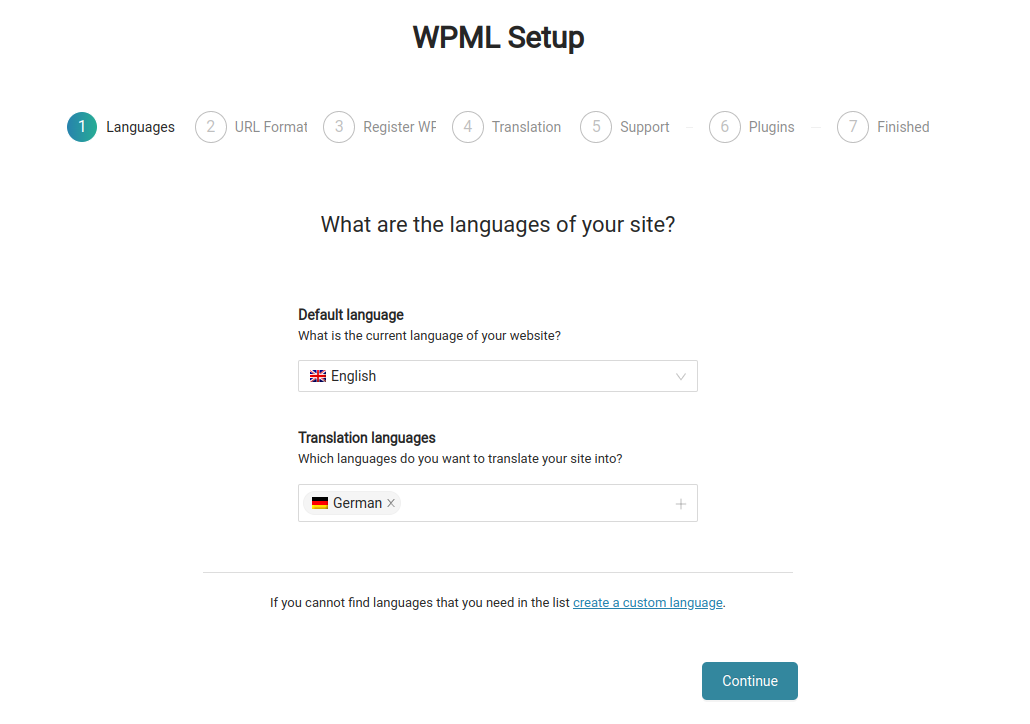
- Select the site’s default language and then any additional you want to add support for. Then click “Continue”.
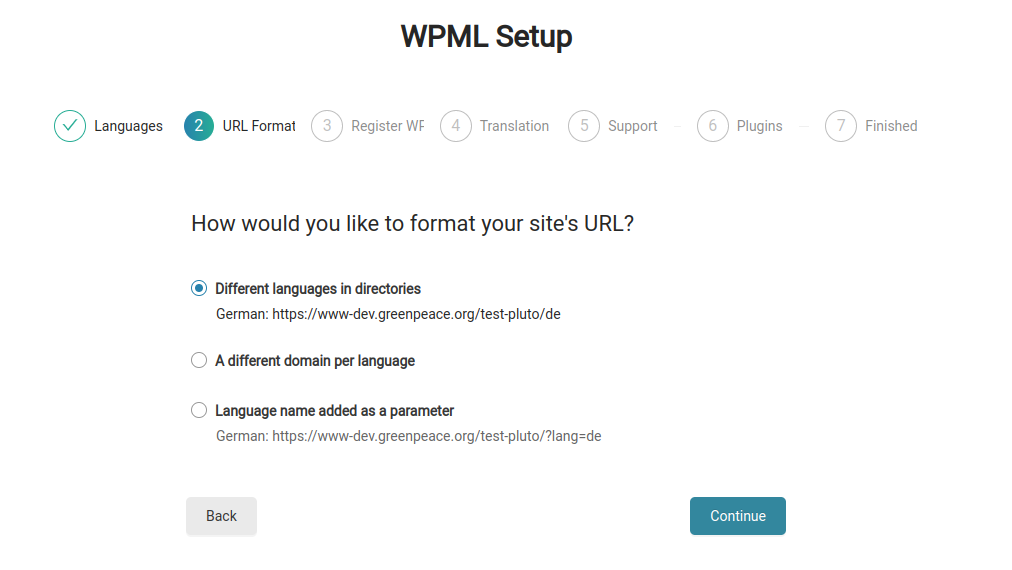
- Pick the first option: “Different languages in directories” and the click “Continue”.
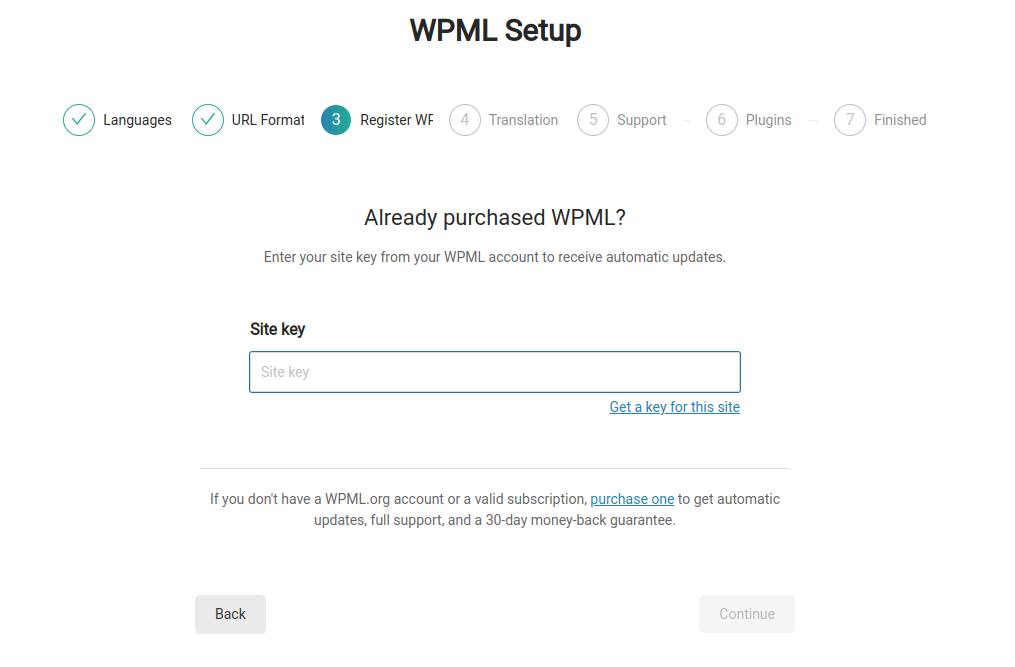
- Add the Site Key (provided by the Planet 4 team) and click “Continue”.
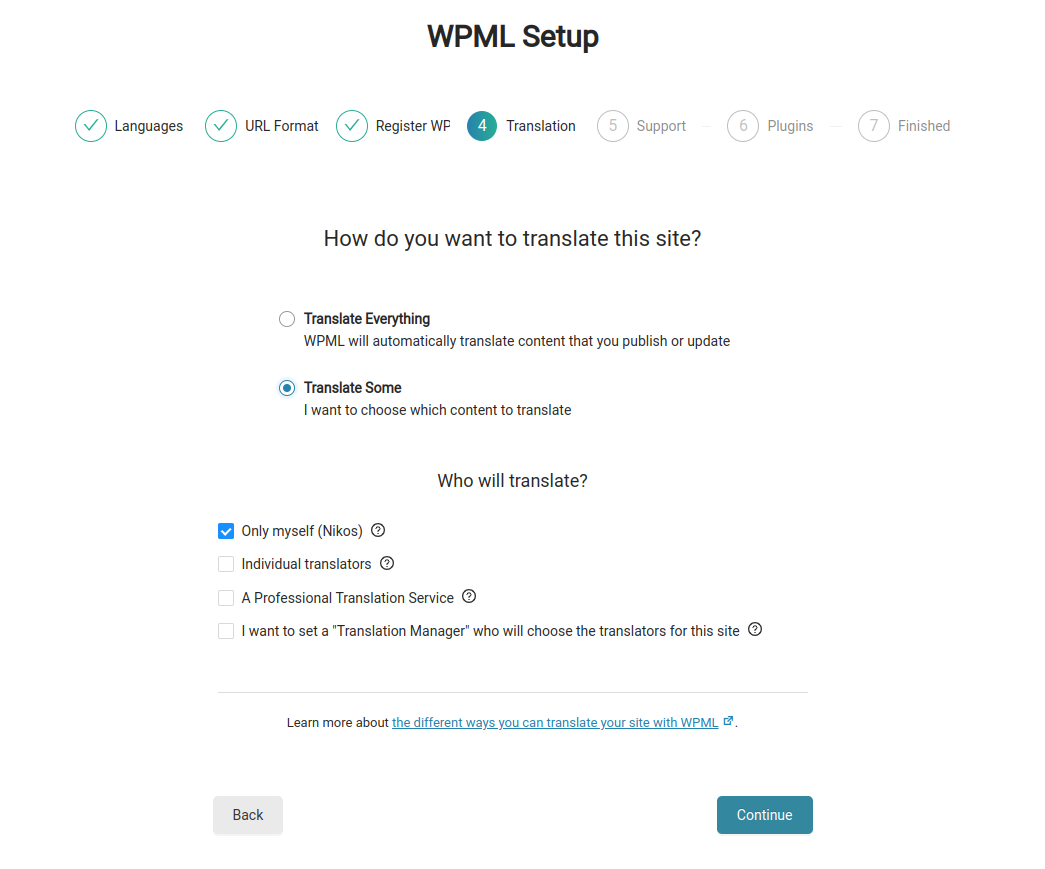
- Select “Translate Some” option and then you can leave the “Only myself” option for now. Then click “Continue”.
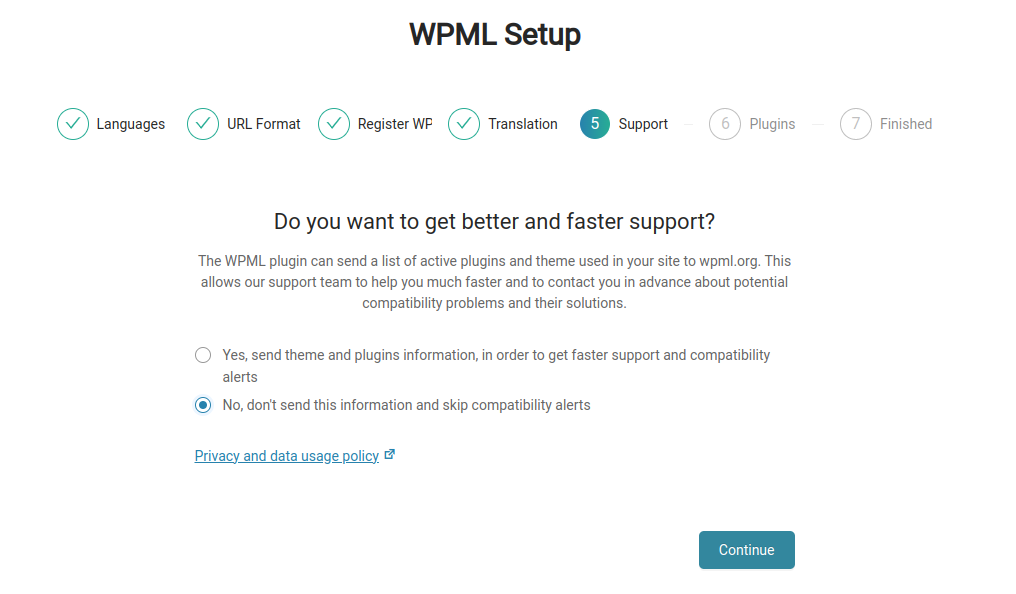
- Select “No, don’t send this information and skip compatibility alerts” and click “Continue”.
- Click “Skip” on the “Plugins” step.
- Just click the “Finish” button and you are done.
Initial configuration for the multilingual plugin has been completed!
After the initial configuration has finished, check out these further steps on how to configure the frontend language switcher and how to get started with content translation.